A mini golf STEM activity turns a simple putting hole into a classroom lesson on force, friction, slope, angles, measurement, data, and design. Students build a small hole, test how the ball moves, change one part of the design, and explain why the second version works better.
This guide is for teachers, camp leaders, homeschool groups, after-school programs, and parents who want a practical mini golf lesson plan. If you are planning a trip to a real venue, pair it with the mini golf field trip guide. If you want more obstacle ideas, use the mini golf hole ideas guide after the lesson structure is set.
How do you run a mini golf STEM activity?
Run a mini golf STEM activity by giving each team 3 to 4 students, one small putting lane, a limited set of materials, a target, and 45 to 90 minutes. Students should design a hole, predict how the ball will move, test at least 10 putts, record scores or distances, then redesign one feature based on the data.
Use this basic class flow:
| Lesson part | Time | Student job |
|---|---|---|
| Challenge intro | 5 to 10 minutes | Understand the goal and constraints |
| Sketch and plan | 10 minutes | Draw the first hole design |
| Build | 15 to 25 minutes | Make a safe, playable lane |
| Test | 10 to 15 minutes | Record strokes, misses, or distances |
| Redesign | 10 to 20 minutes | Change one feature and test again |
| Share | 5 to 15 minutes | Explain what changed and why |
Mini golf STEM lesson plan snapshot
Use this version when you need a clear one-class lesson.
| Planning detail | Good starting point |
|---|---|
| Best grades | Grades 3 to 8, with easier or harder prompts by age |
| Group size | 3 to 4 students per team |
| Time needed | 45 to 90 minutes |
| Space | Classroom floor, hallway, gym, library, or cafeteria |
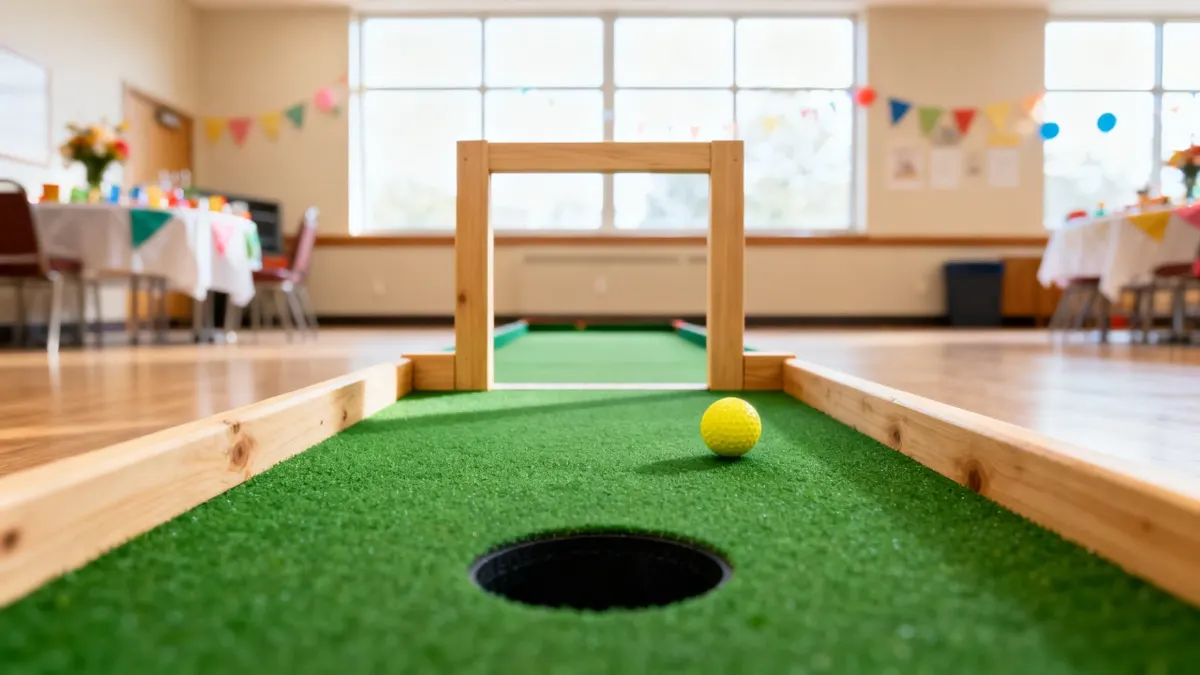
| Course size | 6 to 12 feet long and 2 to 3 feet wide |
| Round length | 5 to 10 putts per design test |
| Stroke limit | 5 or 6 strokes per attempt |
| Main STEM ideas | Force, friction, slope, angles, measurement, data, and redesign |
For younger students, treat the activity as a fair-test challenge: which design helps the ball reach the target most often? For older students, make it a mini golf physics project with measured launch positions, angle choices, average score, and a written redesign explanation.
What classroom mini golf materials do students need?
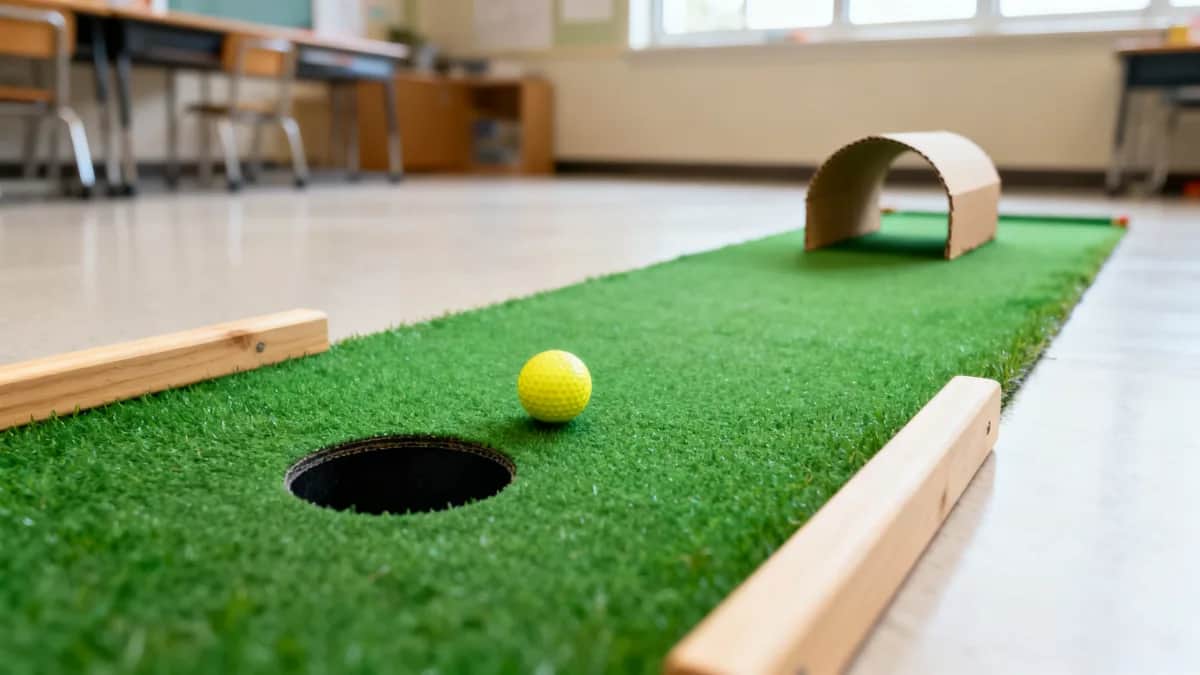
Students do not need a full mini golf kit for a classroom mini golf activity. Most classroom versions work with safe, lightweight materials that students can move without tools.
Good materials include:
| Material | Best use |
|---|---|
| Painter tape | Mark start lines, lanes, targets, and boundaries |
| Cardboard | Make tunnels, walls, ramps, and obstacles |
| Pool noodles | Create soft rails, curves, and bumpers |
| Paper towel tubes | Build small tunnels or gates |
| Cups or bowls | Use as targets if you do not have a putting hole |
| Cones or blocks | Mark slaloms, gates, and boundaries |
| Foam board | Make bank-shot walls and signs without sharp edges |
| Meter sticks | Measure distance, lane width, and rollout |
| Golf balls or foam balls | Test how weight and surface change motion |
| Plastic putters or yardsticks | Keep the putting motion controlled |
The Science Buddies mini golf physics activity uses common household materials to show how a ball rolls, bounces, and changes direction. The STEAM Powered Family mini golf challenge is another useful model for building with recycled materials.
Avoid heavy boards, glass, loose cords, sharp sticks, hard swings, and anything that requires students to stand in another team's lane. If your class will build larger temporary holes for an event, compare the portable mini golf rental guide before deciding whether to rent, build, or visit a course.
How to set the design challenge
A strong mini golf lesson starts with a constraint, not a pile of supplies. Give students a simple design brief before they touch materials.
Example challenge:
Design and build one mini golf hole that a beginner can understand in under 10 seconds. The ball must start behind the tape line, travel through or around one obstacle, and finish in the target area. After the first test, change one feature to improve the result.
Useful constraints:
- The hole must fit inside a taped lane.
- The ball must stay on the floor or mat.
- The design can use only 5 to 8 materials.
- The target must be visible from the start line.
- The lane must be safe to walk around.
- Teams must collect data before redesigning.
- Every player gets the same start position.
The PTA mini golf course activity frames the project around defining a problem, making a plan, building, testing, and improving. That structure works well even if your class uses different materials.
Build the first mini golf hole
Have teams sketch before they build. The sketch does not need to be artistic. It should show the start line, target, obstacle, boundaries, and expected ball path.
Step 1: Mark the lane
Use painter tape, pool noodles, cardboard strips, or cones to define the hole. Keep lanes wide enough that beginners can succeed. A 2 to 3 foot lane is usually better than a narrow track for first tests.
Step 2: Pick one main obstacle
Choose one challenge:
- A cardboard tunnel.
- A foam gate.
- A gentle ramp.
- A bank-shot wall.
- A curve made from pool noodles.
- A target circle instead of a hole.
- A split path with one easy route and one harder route.
For more build options, use the mini golf course ideas and mini golf course design guides. Those pages are broader than this lesson, but they help students name the parts of a real course.
Step 3: Define success
Success should be measurable. Do not only ask whether the hole is fun.
Choose one metric:
- Average strokes over 10 attempts.
- Number of successful finishes in 10 attempts.
- Distance from the target after the first putt.
- Number of balls that stay inside the lane.
- Difference between version one and version two.
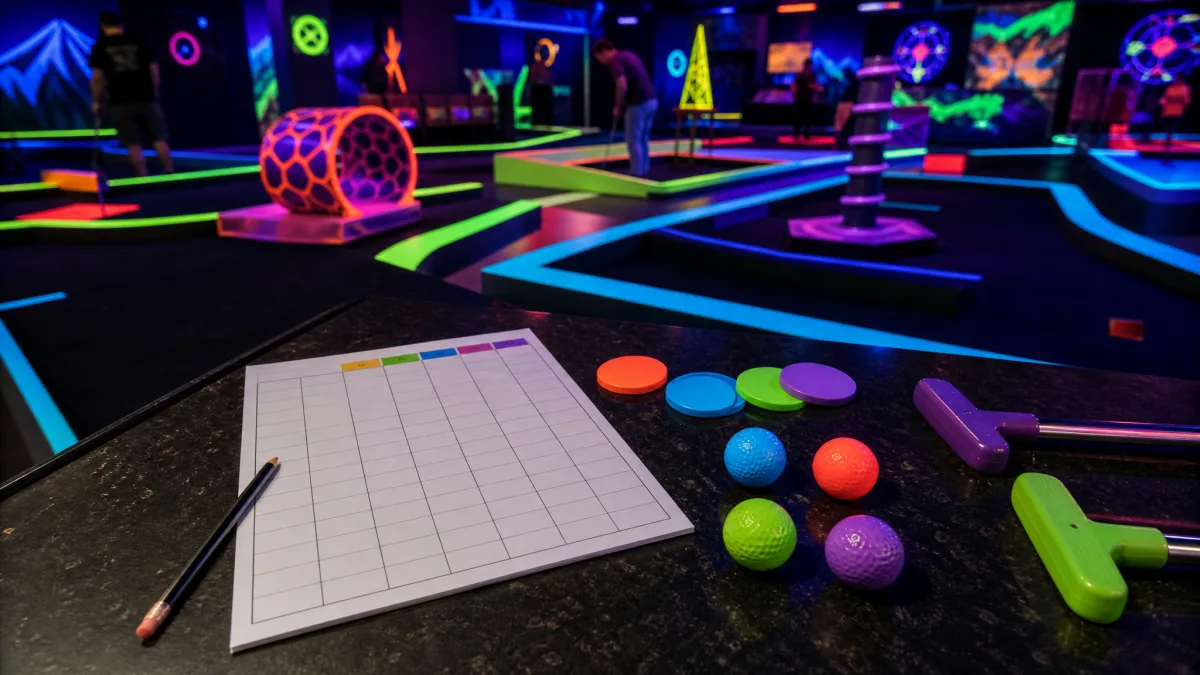
If students are learning basic scorekeeping too, use the mini golf scorecard guide and mini golf rules and scoring guide before the testing round.
How to test with fair data
Testing is where the activity becomes STEM instead of craft time. Each team should run the same test before and after redesign.
Use this test pattern:
- Put the ball on the same start mark every time.
- Use the same putter or putting tool.
- Let each teammate take the same number of tries.
- Record strokes, finish result, or distance from target.
- Do not move obstacles during a test round.
- Change only one feature for the redesign.
- Test the redesigned version with the same number of tries.
For a short class, 10 attempts per design is enough. For a longer project, use 20 attempts so students can calculate averages, compare trial one and trial two, and spot outliers.
Good data questions:
| Question | What students measure |
|---|---|
| Did the ramp help or hurt? | Average strokes before and after the ramp |
| Was the tunnel too narrow? | Number of missed tunnel attempts |
| Did the wall create a useful bank shot? | Successful finishes after using the wall |
| Did the ball roll too far? | Distance past the target |
| Did redesign improve the hole? | Difference between version one and version two |
If pace matters because several teams are testing at once, use a 5 or 6 stroke limit. The mini golf etiquette guide can also help explain waiting turns, clearing the lane, and recording scores away from the active hole.
STEM prompts by concept
Use one or two prompts during the activity. Too many prompts can slow the build.
| Concept | Prompt |
|---|---|
| Force | What happens when the first putt is too soft, just right, or too hard? |
| Friction | Which surface slows the ball most: floor, carpet, turf, cardboard, or mat? |
| Slope | How does an uphill section change the speed needed? |
| Angles | Where should the ball hit the wall to reach the target? |
| Reflection | Does the ball bounce off the wall at the angle students predicted? |
| Measurement | How far does the ball roll after the first putt? |
| Data | Which design had the lower average score? |
| Engineering | What is one change that improves the hole without rebuilding everything? |
For older students, a bank-shot hole can become a geometry lesson. The TeachEngineering mini golf geometry activity focuses on single, double, and triple bank shots, which is a natural extension after students understand simple angle choices.
Math extensions for mini golf
Mini golf gives students real data without a separate worksheet. Choose the math level by grade.
Elementary math
Ask students to:
- Count strokes.
- Measure lane length.
- Compare shorter and longer rolls.
- Sort holes from easiest to hardest.
- Make a tally chart of successful attempts.
Middle school math
Ask students to:
- Calculate average strokes.
- Compare two versions with a table.
- Graph successful finishes before and after redesign.
- Measure angles for bank shots.
- Find the percentage of attempts that reached the target.
High school math
Ask students to:
- Model the bank-shot path.
- Compare predicted and actual ball paths.
- Optimize a lane for lowest average score.
- Discuss variables that were hard to control.
- Explain why trial data can still vary after the design improves.
If students are planning a real visit afterward, use the how long mini golf takes guide to estimate timing for a class or family group.
Grade-level variations
The same mini golf lesson can work across ages if the product stays simple and the explanation changes.
| Grade band | Best version |
|---|---|
| K to 2 | Use target circles, wide lanes, and simple words like push, roll, fast, slow, near, and far |
| Grades 3 to 5 | Add fair tests, measurement, predictions, and one redesign rule |
| Grades 6 to 8 | Add friction, slope, angles, averages, and a short design reflection |
| Grades 9 to 12 | Add geometry, optimization, vectors, controlled variables, and evidence-based redesign |
For young children, skip strict scoring and use stations. For older students, make the scoring part of the lesson: teams should prove that the redesign improved the result, or explain why the data did not support their prediction.
Team roles and classroom management
Teams of 3 to 4 usually work best. That lets every student have a role without making the lane crowded. The Beyond the Chalkboard mini golf challenge uses small teams, which is a good fit for build, test, and redesign work.
Assign roles before supplies come out:
| Role | Job |
|---|---|
| Designer | Sketches the first idea and labels the lane |
| Builder | Places materials and checks stability |
| Tester | Takes trial putts or organizes turns |
| Data recorder | Tracks strokes, misses, distances, and redesign notes |
Rotate roles if the lesson runs over multiple class periods. If it is a one-class activity, let teams choose roles but require everyone to take at least one test putt.
Safety rules for indoor mini golf
Classroom mini golf should feel active without becoming chaotic. Give the safety rules before students receive balls or putters.
Use these rules:
- Putters stay below knee height.
- No full swings.
- One ball moves in a lane at a time.
- Students stand beside the lane, not behind the player.
- Teams walk around other lanes, never through them.
- Loose materials are fixed before testing starts.
- The teacher approves ramps before use.
- Data is recorded after the player steps out of the lane.
If your activity includes younger kids, read mini golf with toddlers and mini golf for kids near you for practical age-fit and supervision notes. The classroom version should be easier and more controlled than a public course.
Simple assessment rubric
Use a short rubric so students know the goal is not just decorating a hole.
| Criteria | Strong evidence |
|---|---|
| Design brief | Hole follows the size, material, and safety constraints |
| STEM thinking | Team explains force, friction, slope, angle, or measurement clearly |
| Data | Team records the same test before and after redesign |
| Redesign | Team changes one feature based on test results |
| Usability | Another student can understand the hole quickly |
| Teamwork | Roles are shared and the team keeps the test fair |
A good final explanation can be short:
"Our first tunnel was too narrow. Only 3 of 10 putts reached the target. We widened the tunnel and moved it closer to the start. In the second test, 7 of 10 putts reached the target because the ball had a clearer path and needed less exact aim."
Field trip and real course extensions
A classroom mini golf STEM activity works well before or after a real course visit.
Before a field trip:
- Teach basic putting safety.
- Practice scorekeeping.
- Ask students to predict which hole designs will be easiest.
- Review force, friction, slope, and bank-shot language.
During a field trip:
- Have students record one example of slope, one bank shot, and one obstacle.
- Ask each group to identify the easiest and hardest hole.
- Count how often players reached the target in 2 strokes.
- Keep the data task short so students still play.
After a field trip:
- Redesign one classroom hole based on a real course feature.
- Compare class-built holes with commercial course holes.
- Discuss how real mini golf courses control pacing, difficulty, and safety.
- Use the mini golf course directory, locations hub, or best mini golf courses if families want to keep exploring.
If the outing is for school, camp, scouts, or youth groups, use a field-trip planning checklist for chaperones, timing, venue questions, transportation, and group pricing.
Mini golf STEM activity FAQ
What is a mini golf STEM activity?
A mini golf STEM activity is a classroom project where students design, build, test, and improve a mini golf hole while learning about force, friction, angles, slope, measurement, and data.
How long does a mini golf STEM lesson take?
Plan 45 to 90 minutes for a simple version. Use 2 to 3 class periods if students will sketch, build, test, redesign, collect data, and present their results.
What materials do students need for classroom mini golf?
Useful materials include painter tape, cardboard, pool noodles, cups, cones, ramps, meter sticks, foam blocks, paper towel tubes, lightweight balls, and safe putters or yardsticks.
What grade levels work best for mini golf STEM?
Elementary students can focus on ramps, force, and fair tests. Middle school students can add friction, angles, data tables, and redesign. High school students can add geometry, vectors, and optimization.
How many students should be on each mini golf STEM team?
Teams of 3 to 4 students usually work best. That is enough for design, building, testing, and recording roles without leaving students idle.
Do students need real golf clubs for a mini golf lesson?
No. Students can use plastic putters, short foam putters, yardsticks, meter sticks, or safe homemade putters. The putting tool should stay low and be easy to control indoors.
What STEM concepts does mini golf teach?
Mini golf can teach force, motion, friction, slope, angles, reflection, measurement, averages, graphing, probability, iteration, constraints, and the engineering design process.
How do you assess a mini golf STEM project?
Assess the project with a simple rubric for clear constraints, safe construction, fair testing, data collection, redesign, explanation of STEM concepts, and teamwork.
Can a mini golf STEM activity connect to a field trip?
Yes. Students can build holes before a field trip, collect angle and score data at a real course, or redesign a classroom hole after seeing how actual mini golf holes control speed and aim.
Mini Golf Spots
Find Mini Golf Courses Near You
Browse local courses, compare ratings, and find the right place for your next round.